Projects
Workshop: Python for Intelligent Robotics
I was invited by the PUCP Association of Mechatronics Engineering Students (ASIME PUCP) to give a technical workshop. The plenary I gave was: Python for Intelligent Robotics.
Auto-Rotating Perceptrons Library
Keras implementation of the ARP units. To allow an easy use of this perceptrons, the library is available on the Python Package Index (with the command: pip install arpkeras). The Library was presented in a tutorial for the group Papers We Love Guatemala.
GitHub Repository PyPI Project Page Video tutorial (in Spanish)
Mini Tutorial: Deep Reinforcement Learning
I have been a teacher in the Specialization Diploma on Development of Artificial Intelligence Applications, offered by the PUCP Graduate School. As a presentation of the AI for Games course I taught, I made a mini tutorial about Deep Reinforcement Learning.
Video
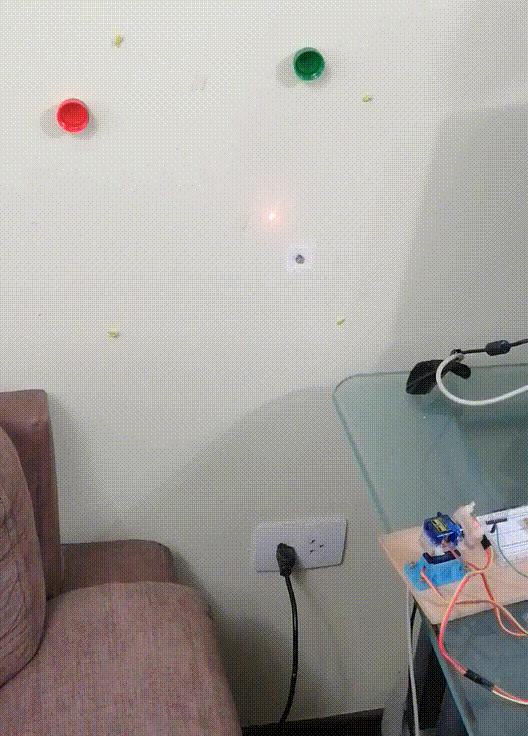
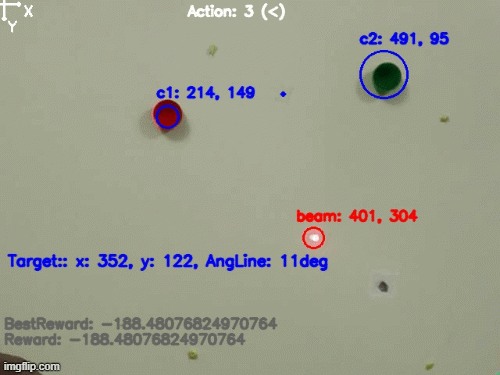
Robot learning using DDQN and NEAT for a 2 DOF pointer robot
Just for fun, I wanted to build a robot that learns by experience. I designed and built a small robot that learns to control a laser beam using Deep Reinforcement Learning, Neuroevolution, and Computer Vision. The 2 DOF robot learned to point its laser beam to reach a target located at the center of two marks. It received the graphic information from a smartphone’s camera. Then, it identified the beam and marks position in real-time using computer vision. The high-level processing is done on a computer and the Arduino acts as the robot low-level controller. For the communication between these devices, I used my PyDuino Bridge Library, which is freely available for the community.
The algorithms tested were the Double Deep Q-Learning (DDQN) and NeuroEvolution of Augmenting Topologies (NEAT). A better performance was obtained using the first algorithm, whose results are shown below.
PyDuino Bridge Library
Library for transparent bi-directional communication between Python and Arduino. Available on the official Arduino Library Manager and on the Python Package Index (with the command: pip install pyduinobridge).
GitHub Repository PyPI Project Page
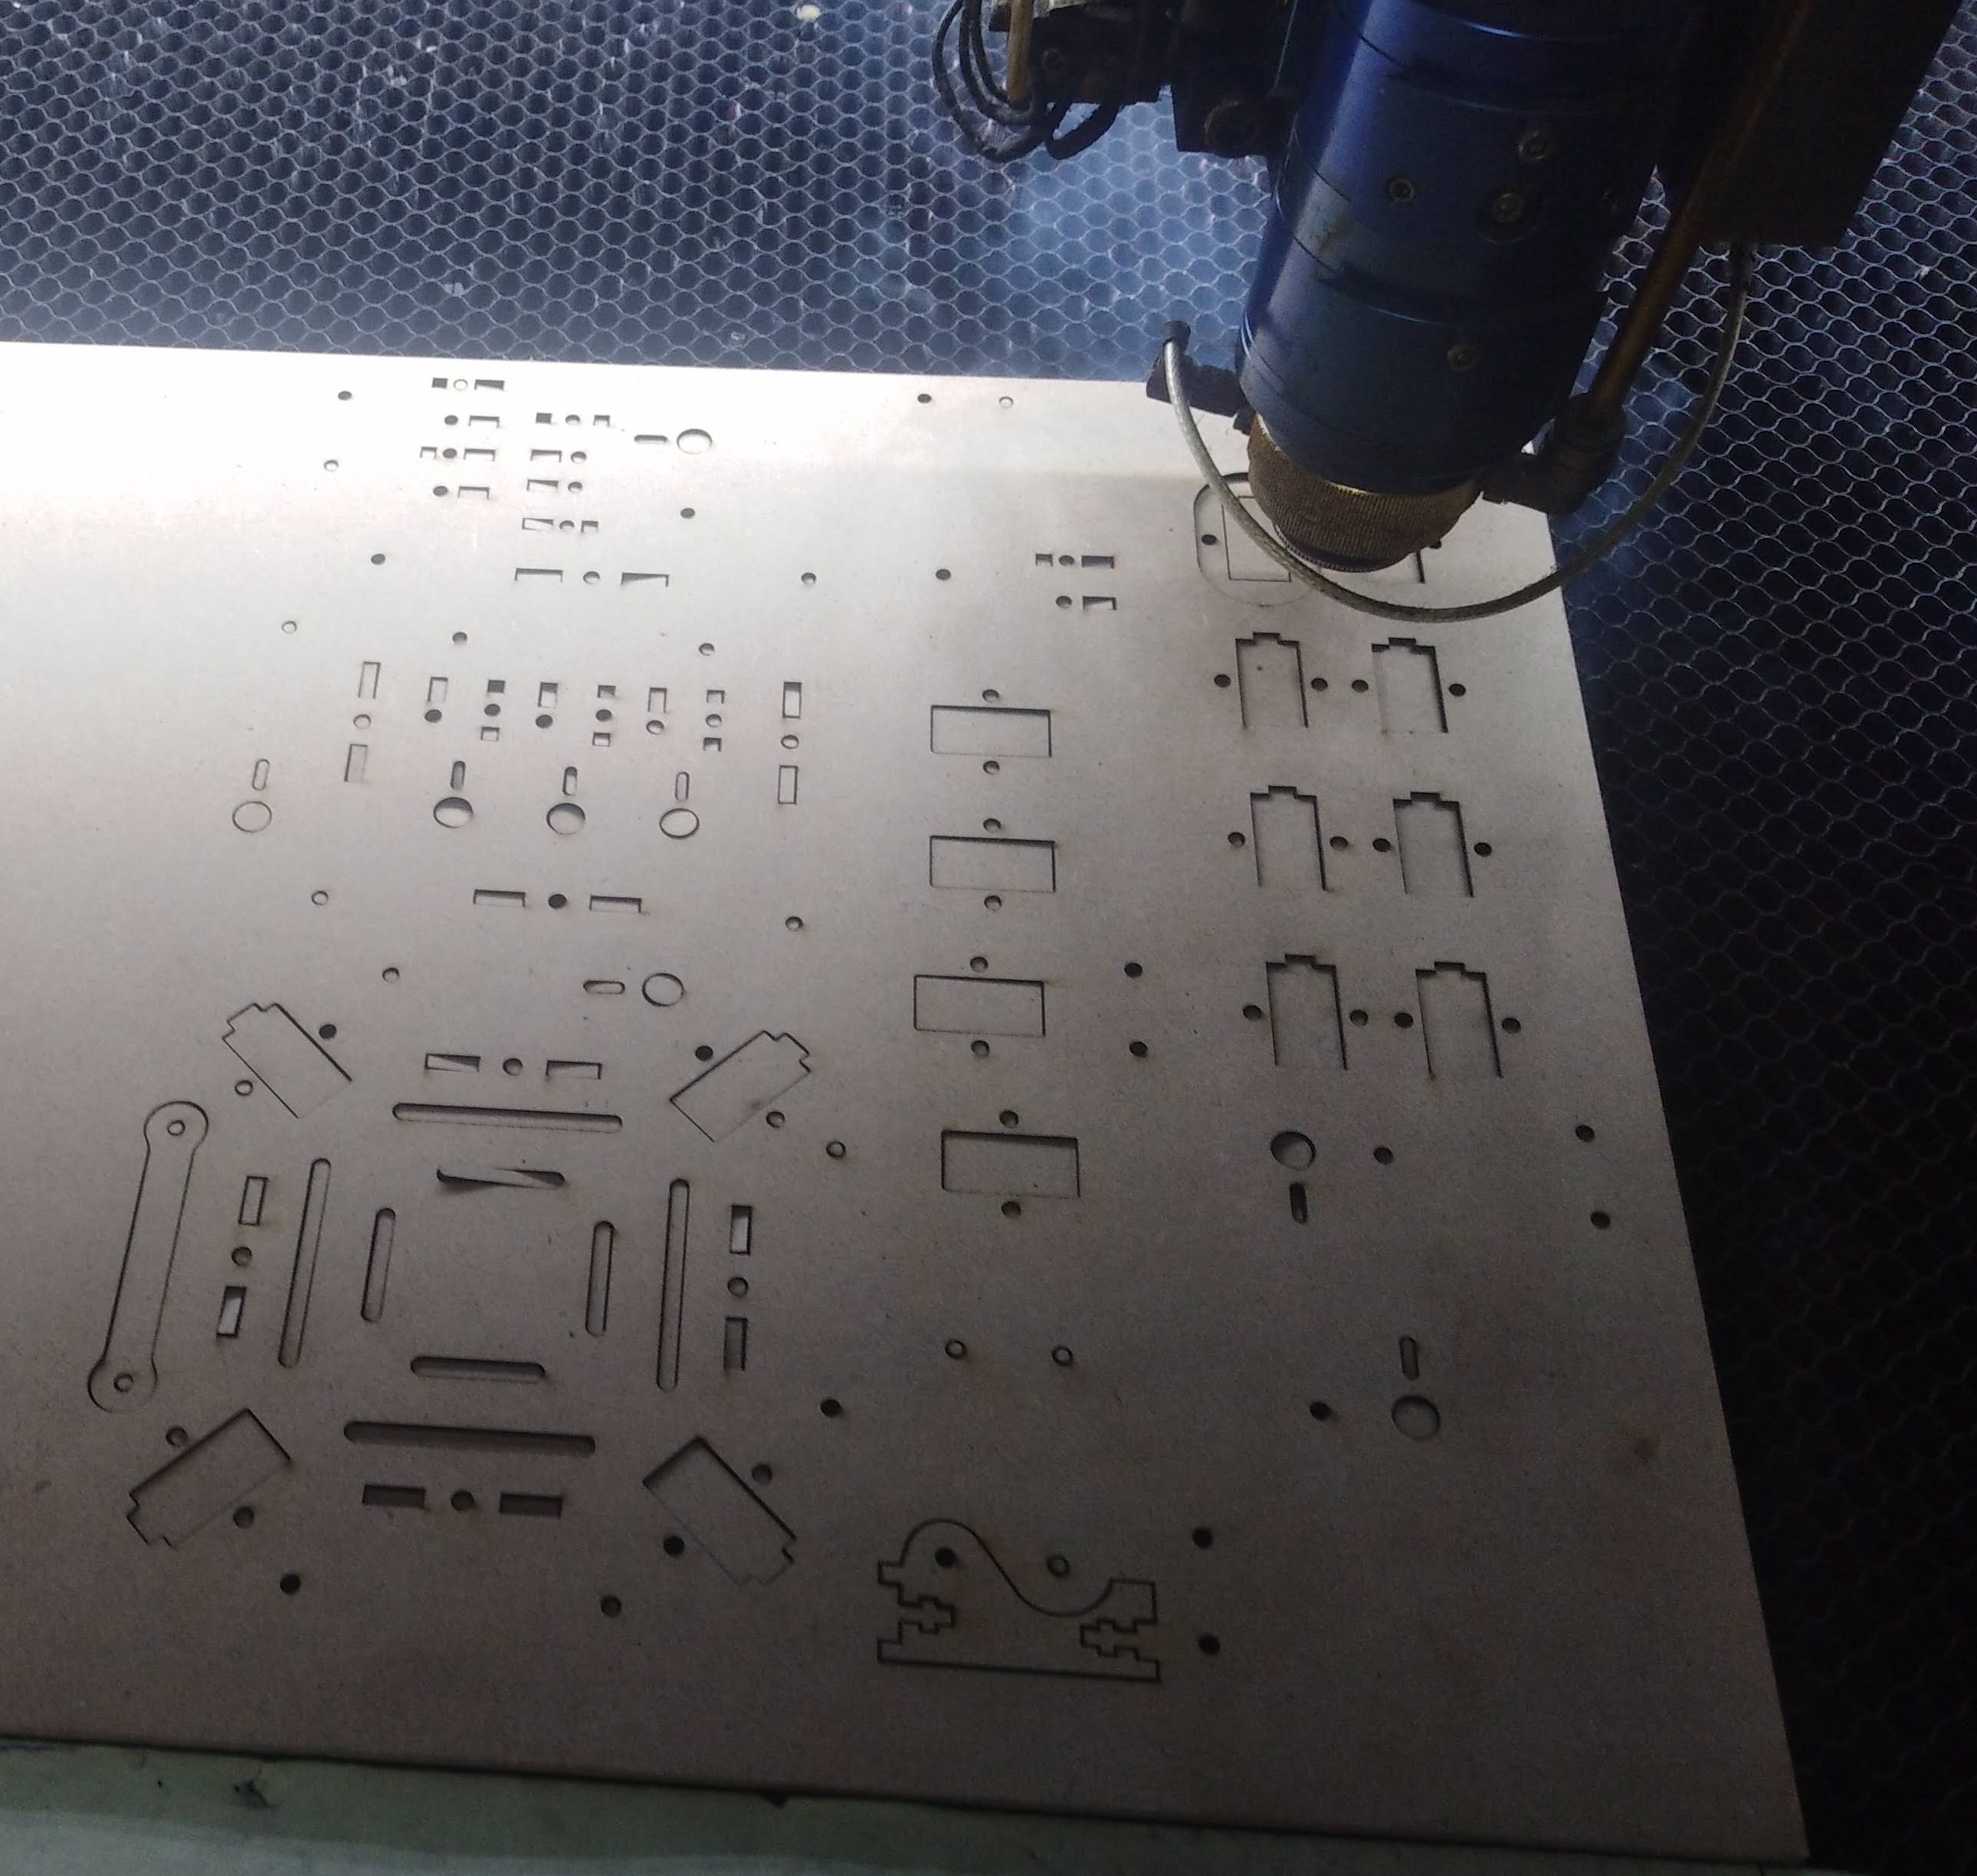
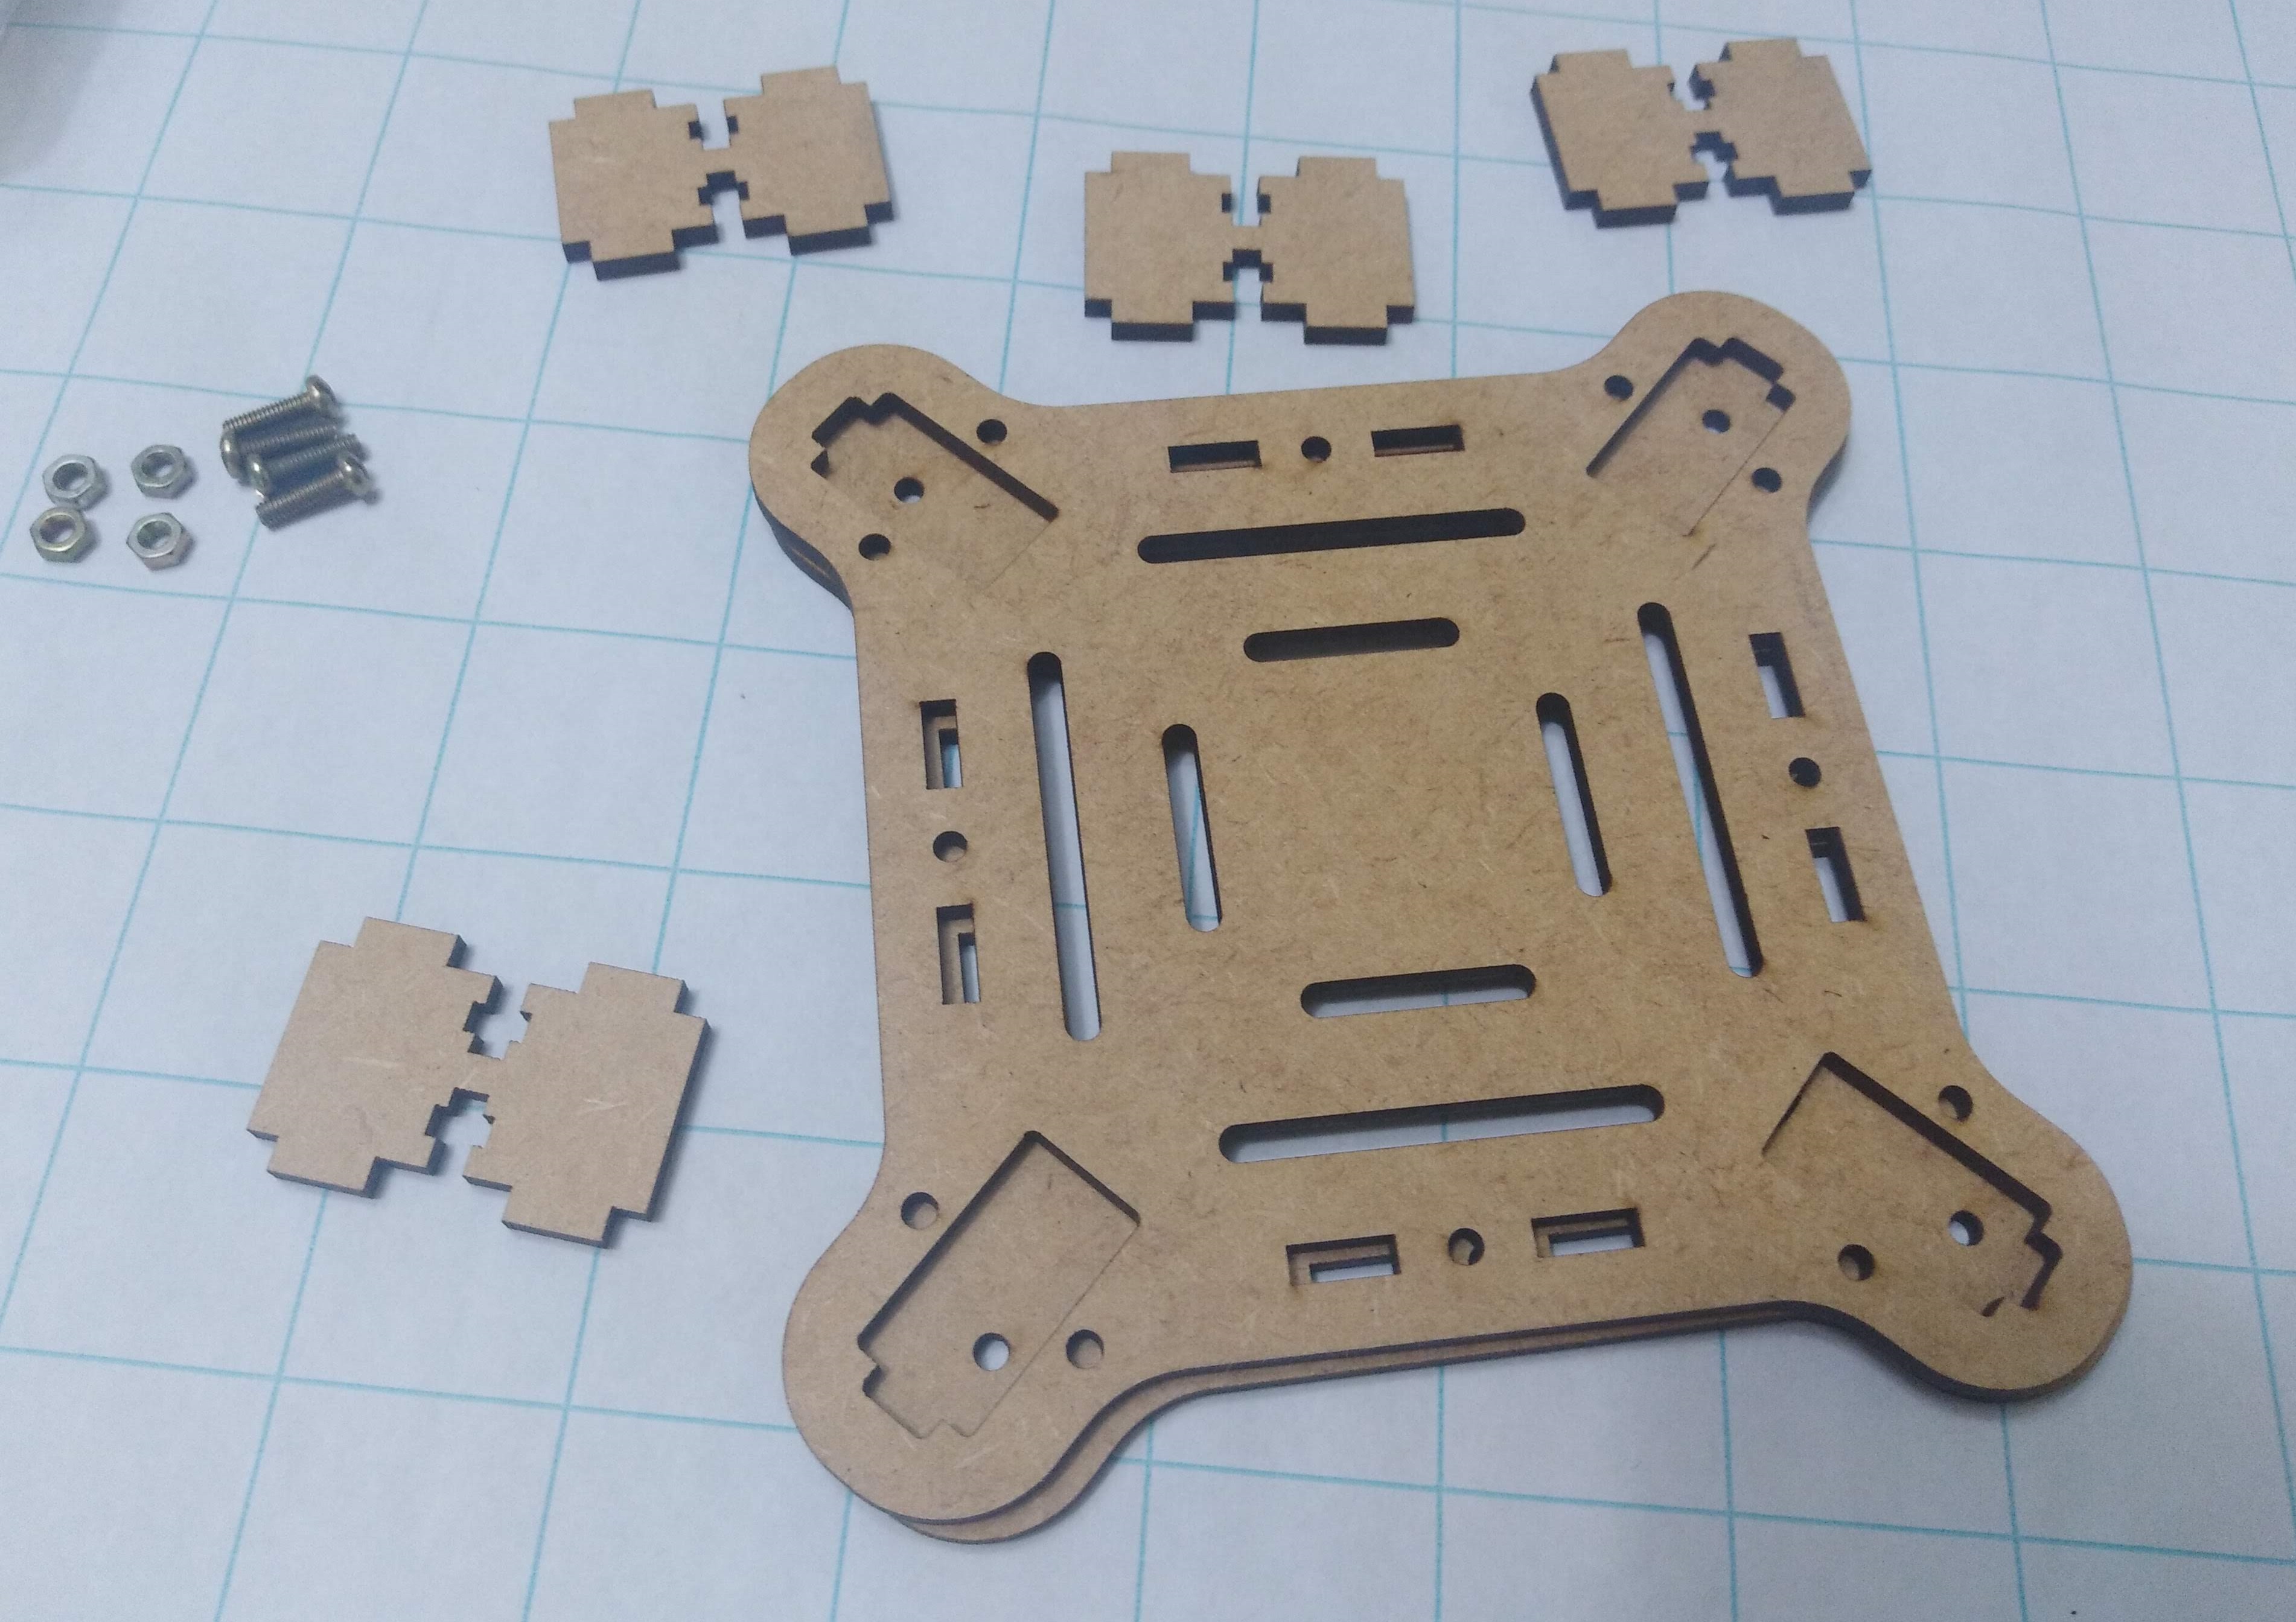
My 8 DOF spider robot: making it learn to walk
When I was studying machine learning, I wanted to use those techniques in a physical environment. Thus, I built a 8 DOF spider robot. I followed the Kamrani’s rapid prototyping methodology: start with a simple design, build it, add more features, make the needed corrections, and then iterate the process several times.

For the mechanical structure, I laser-cutted MDF and then assembled the pieces.
Regarding the electronics of the spider, it has a 9 DOF IMU (for measuring the 3D orientation), it has a current sensor (to measure the amperage consumed during the gait), and other components.
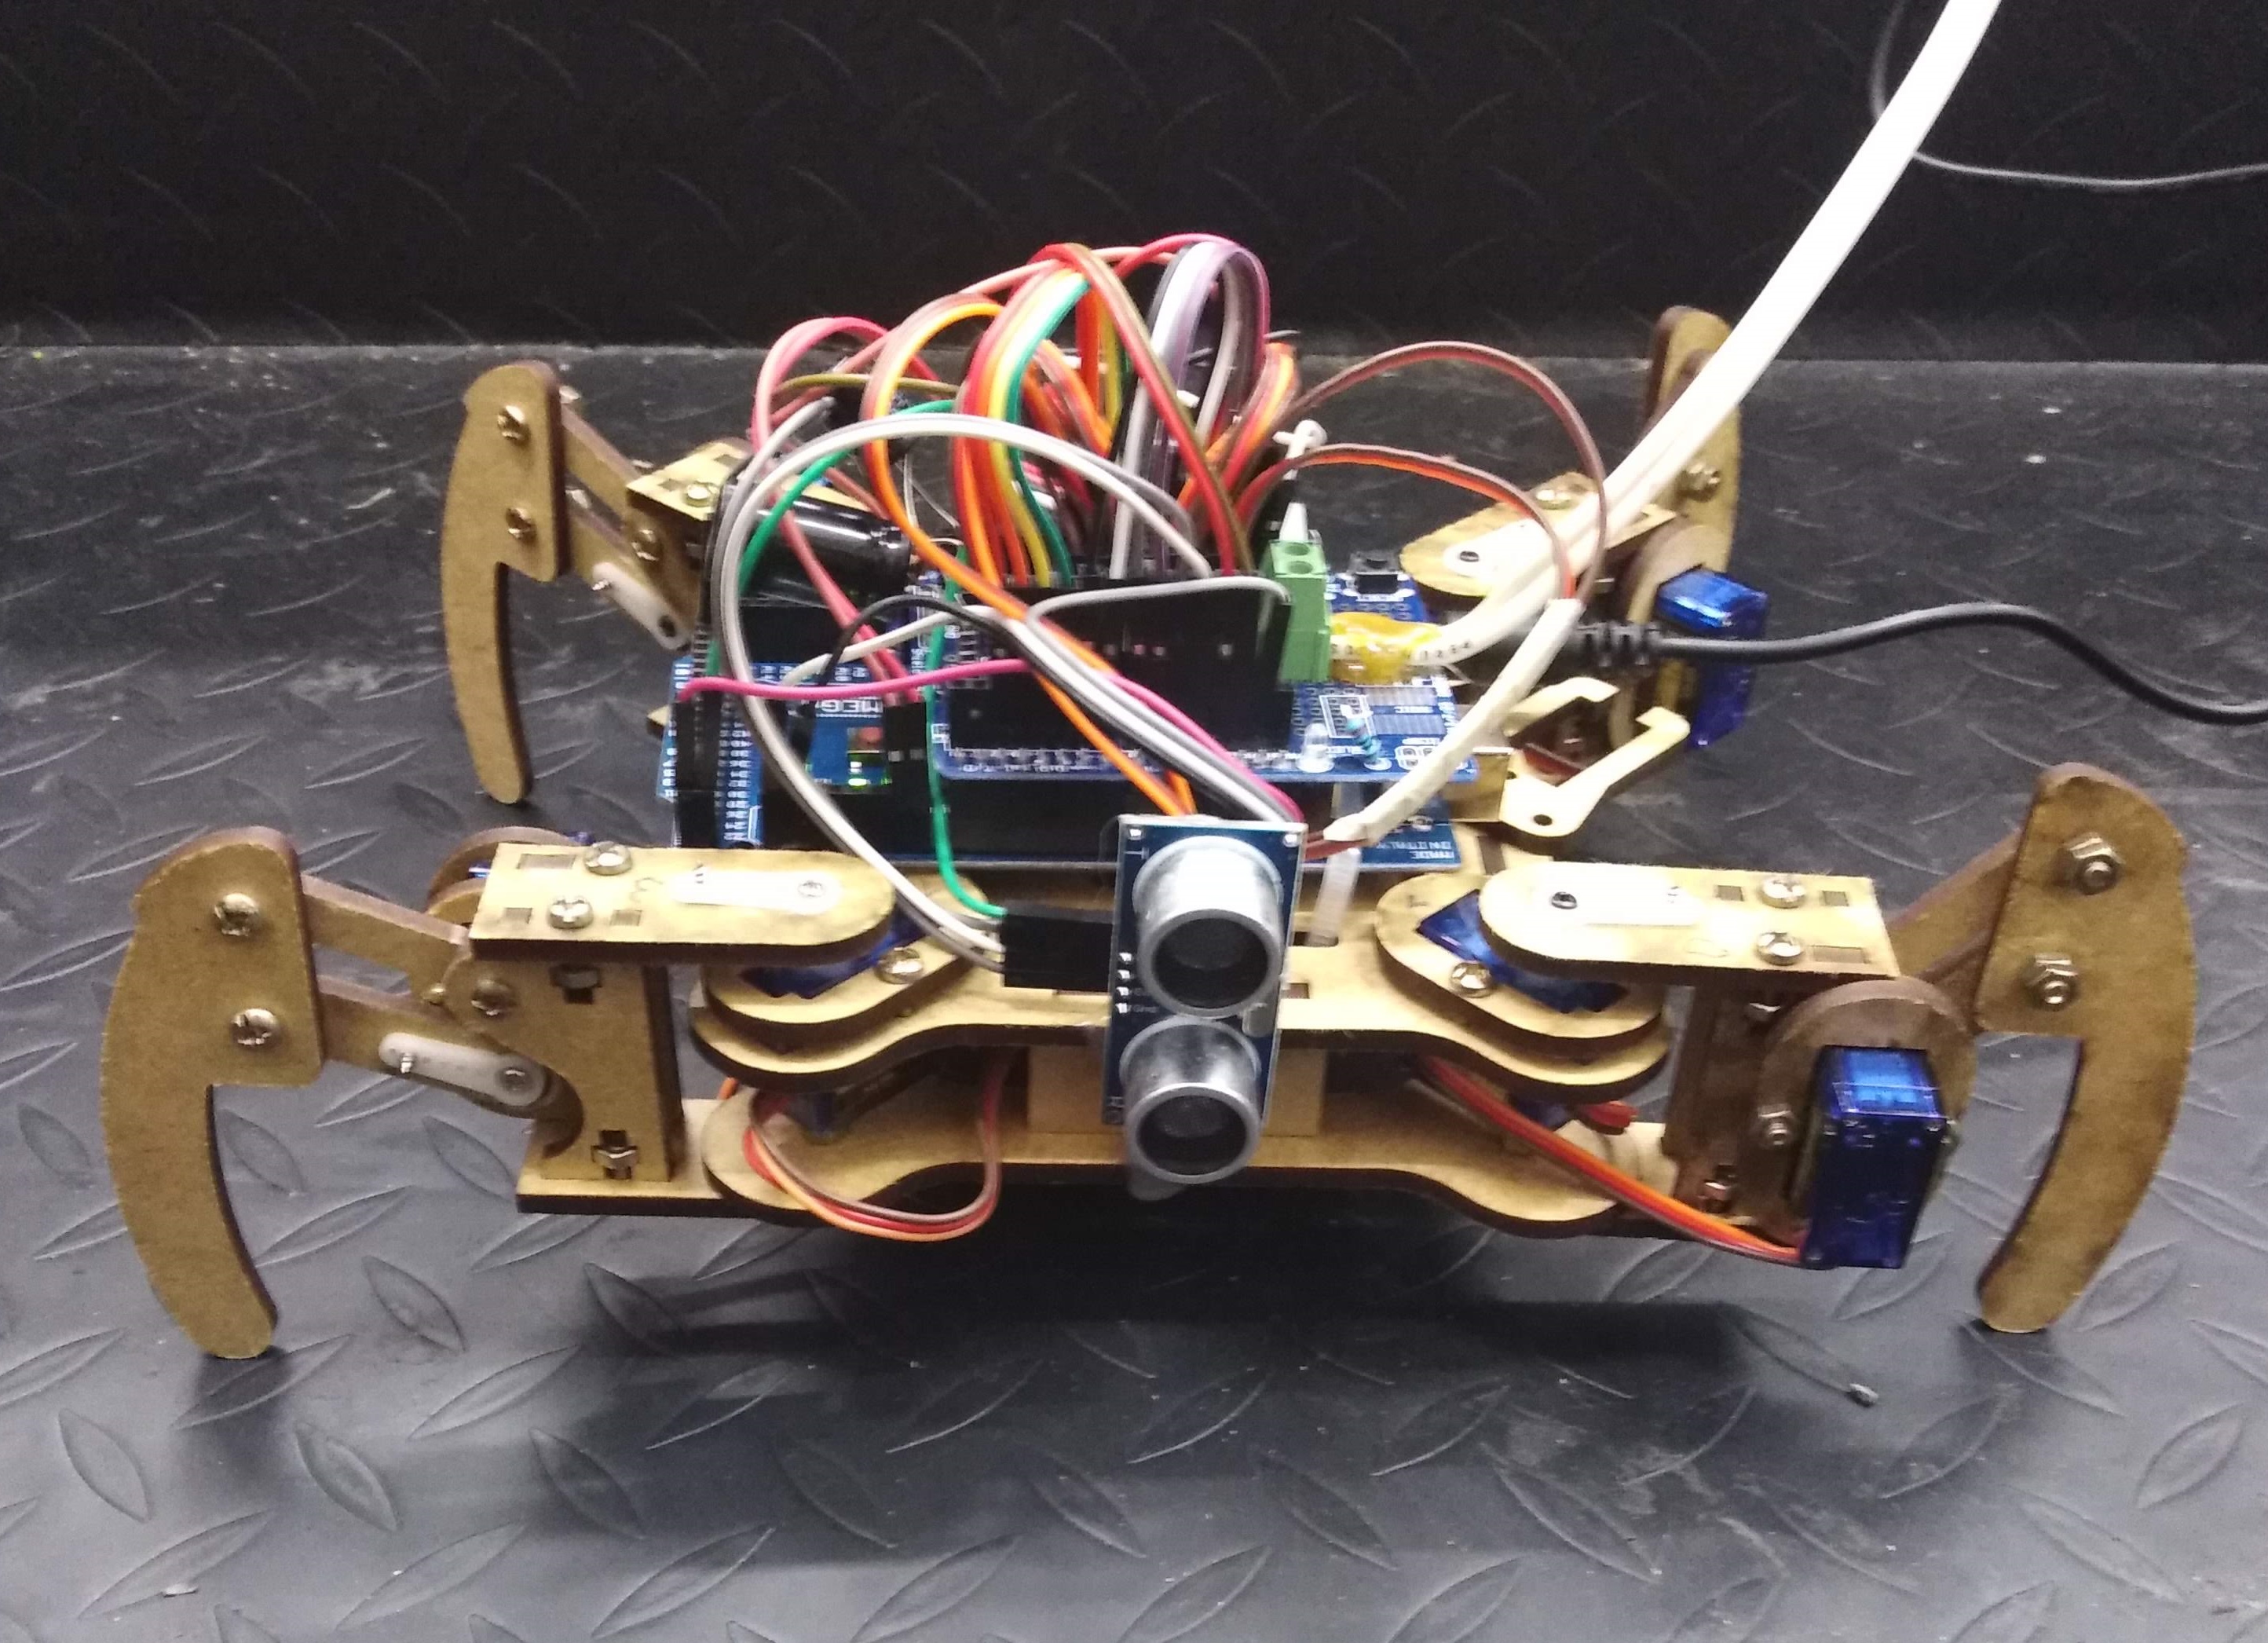
For the control algorithm, I developed an algorithm to maximize a reward function without applying reinforcement learning techniques, but supervised ML. The algorithm I proposed to make the robot learn to walk was later presented as part of my bachelor’s thesis.
Kalman filtering with Arduino and MATLAB
I implemented two Kalman filters using MATLAB.The first Kalman filter combined a noisy measurement and a model-based prediction to find the optimal estimate of the signal.

The second Kalman filter blended three synthetic noisy signals, working as a sensor fusion Kalman filter.

The signal-to-noise ratio (SNR) was used to quantify the amount of noise present in the signals.
Then, I used four accelerometer signals to have a more reliable measurement by applying real-time sensor fusion with Arduino.

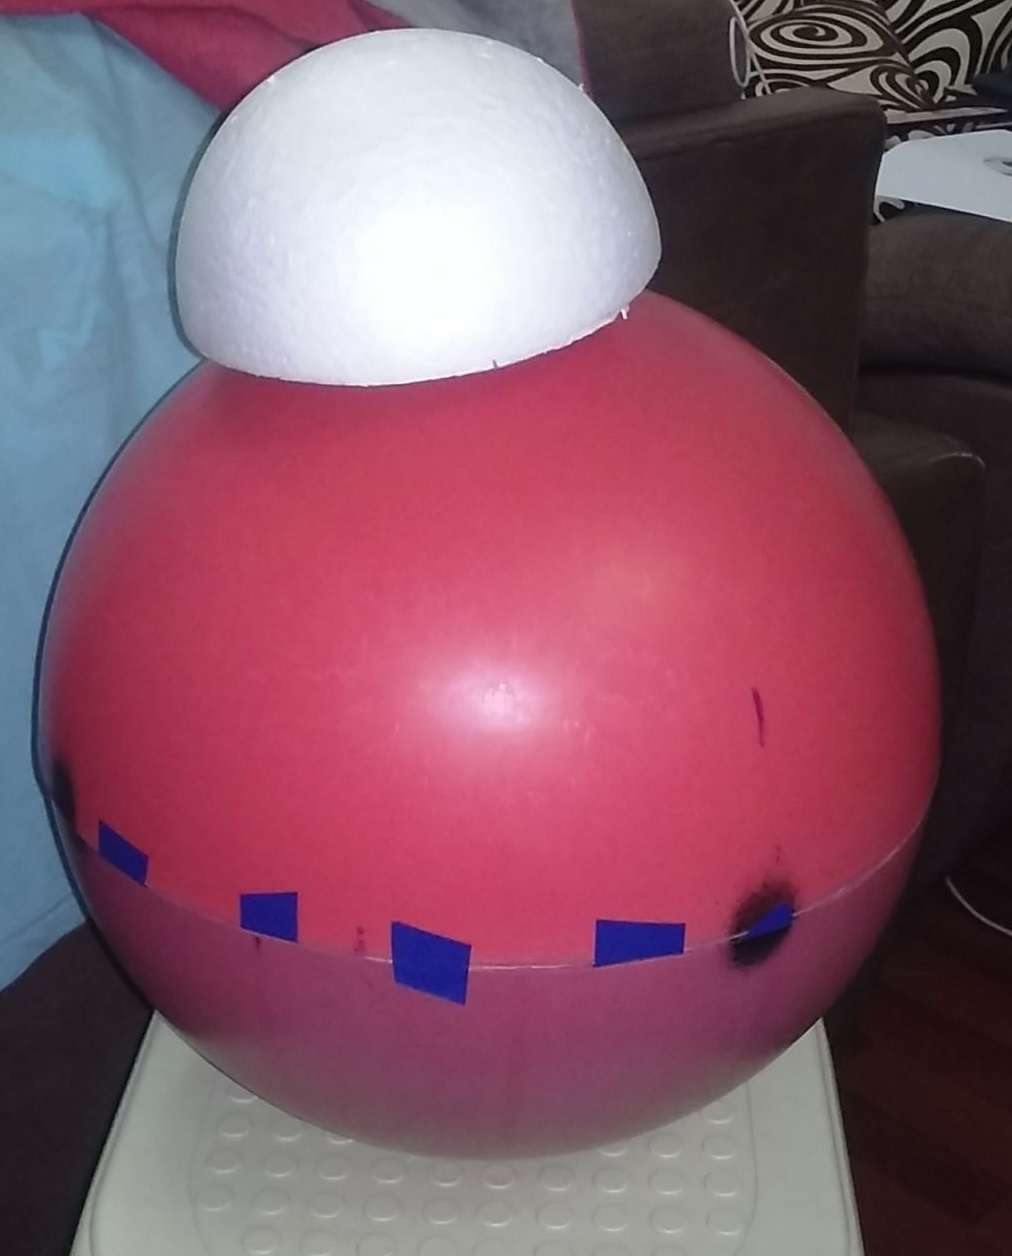
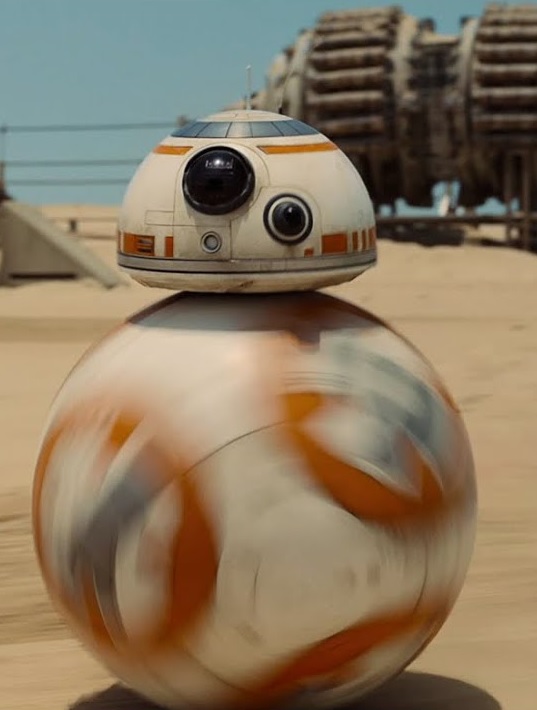
BB8-shaped robot
I built a robot whose shape was inspired from the BB8 robot that appeared in a Star Wars movie (Episode VII). It is a rolling robot with a free-moving domed head on the top, magnetically kept in place during the robot locomotion.
The robot has two main parts: the internal structure and the external sphere. First, I made the internal structure base by laser-cutting MDF. Then, I added the motors, the electronics, and the battery. Later, I used a servomotor to attach the piece whose magnets allowed the robot to turn its head and keep it in place while the body is rolling.
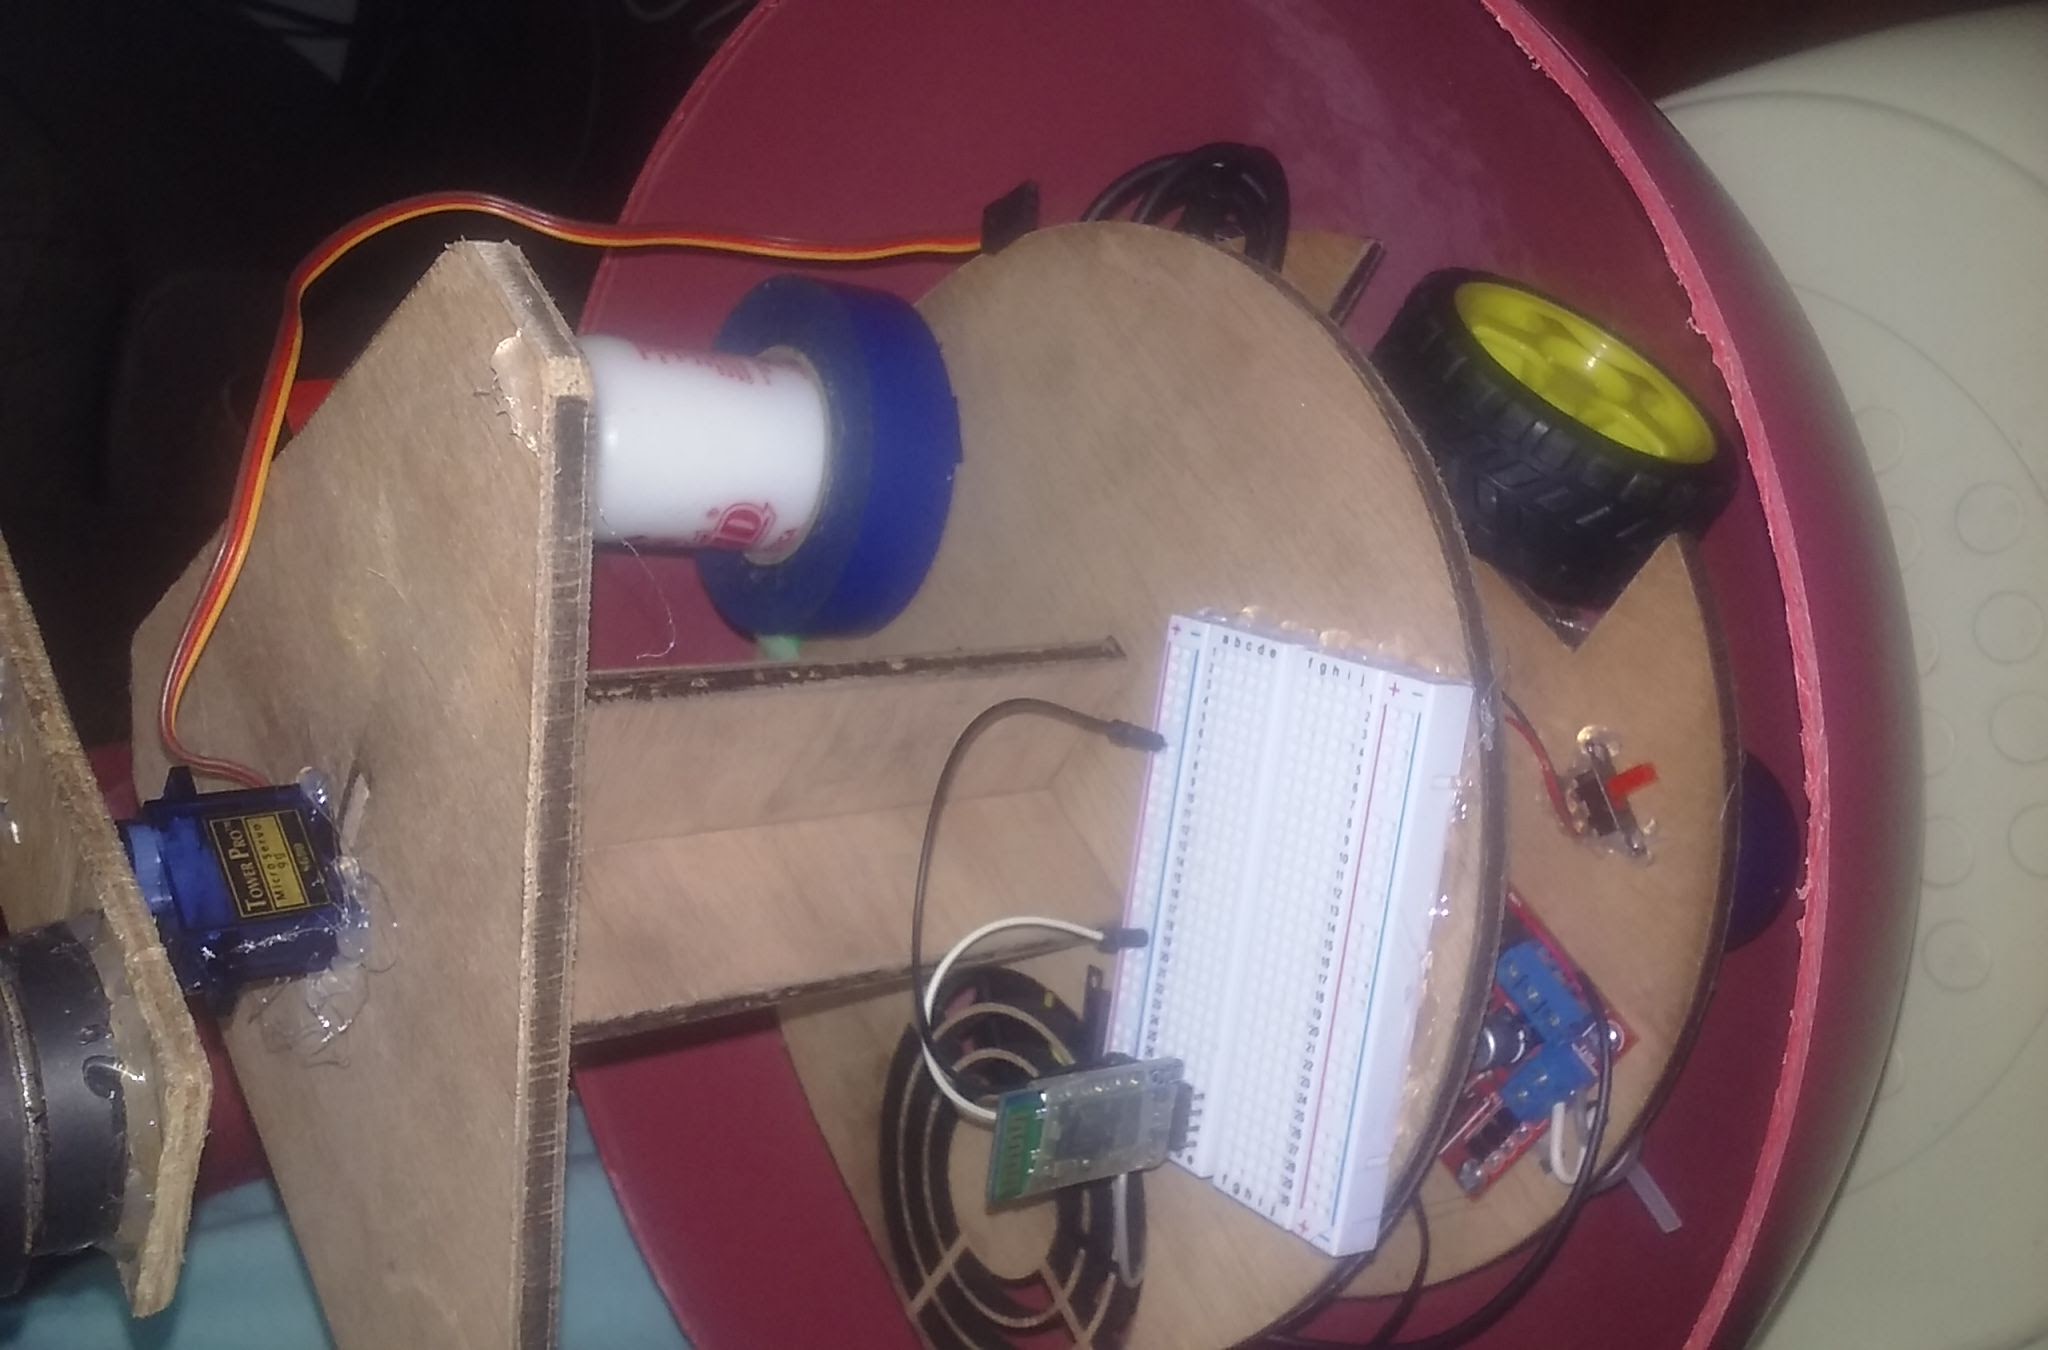
After that, I put the internal structure inside the spherical body.
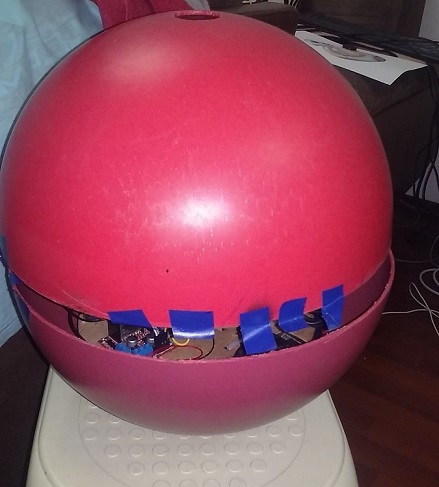
Finally, I closed the sphere and added the domed head. This piece has magnets and casters on its bottom side.